Imagine waking up to the sweet, vibrant taste of homemade raspberry jam, effortlessly crafted while you slept, or perhaps even while you enjoyed your morning coffee. Sound too good to be true? Not when you have a bread machine! This often-underestimated kitchen appliance isn't just for baking loaves; it's a secret weapon for creating small batches of delicious, pectin-free jam with minimal effort. Today, we're diving into the delightful world of bread machine raspberry jam – a quick, easy, and incredibly rewarding recipe that will transform your breakfast routine.
Why Your Bread Machine is a Jam-Making Marvel
For many, the bread machine is synonymous with freshly baked bread. However, its capabilities extend far beyond dough and loaves. The unique design, consistent heating, and gentle stirring mechanism of many bread machines make them ideal for crafting homemade jams. If you've ever considered making jam from scratch but have been deterred by the perceived complexity, endless stirring, or the need for large canning setups, your bread machine offers a perfect solution.
One of the most appealing aspects is the "set it and forget it" convenience. Simply gather your ingredients, toss them into the bread machine pan, select the appropriate setting, and let the machine handle the rest. This liberates you from standing over a hot stove, constantly stirring to prevent scorching. For busy individuals or those new to jam-making, this hands-off approach is a game-changer. Plus, making jam in a bread machine is perfect for small batches, allowing you to enjoy fresh jam without the commitment of processing dozens of jars.
A quick note of caution: while many modern bread machines are equipped with a dedicated "Jam" or "Jelly" cycle, it's crucial to verify that your model possesses this specific setting. This cycle is designed with a particular temperature profile and stirring pattern perfectly suited for cooking fruit into jam, preventing burning and ensuring proper consistency. Attempting to make jam using a standard bread-making cycle could lead to unsatisfactory results or even damage to your machine. Always consult your bread machine's manual to confirm its jam-making capabilities before you begin.
The Simple Magic of Pectin-Free Raspberry Jam
Perhaps one of the most exciting revelations for aspiring jam makers is that you don't always need commercial pectin to achieve a beautifully set jam. Raspberries, naturally rich in their own pectin, combine wonderfully with sugar and lemon juice to create a firm yet spreadable consistency without any artificial thickeners. This results in a purer, more fruit-forward flavor that truly shines.
Sourcing Your Star Ingredient: Raspberries
The quality of your raspberries will significantly impact the flavor of your finished jam. For the absolute best results, opt for fresh, ripe raspberries. During peak season (typically June and July in many regions), fresh berries from your garden, a local farmers' market, or even a pick-your-own farm are ideal. Look for plump, deeply colored berries that are free from mold or bruising. You'll need about 3 cups of fresh raspberries for this recipe.
However, if fresh berries aren't available, don't despair! High-quality frozen raspberries work wonderfully too. There's no need to thaw them beforehand; simply add them directly to the bread machine pan. If you find yourself with slightly less than 3 cups of raspberries, you can always supplement with some mashed strawberries to create a delightful mixed berry jam – a delicious way to use up any leftover berries you might have on hand.
The Unsung Heroes: Sugar and Lemon Juice
While raspberries are undoubtedly the star, sugar and lemon juice play vital supporting roles in achieving the perfect bread machine raspberry jam.
- Sugar: Beyond adding sweetness, sugar acts as a natural preservative, extending the shelf life of your jam. It also contributes to the jam's texture and body, helping it to thicken and achieve that desirable glossy sheen. The amount of sugar is typically balanced to enhance the fruit's flavor without making the jam overly cloying.
- Lemon Juice: This seemingly small addition is crucial for several reasons. Firstly, the acidity in lemon juice helps to activate the natural pectin present in raspberries, aiding in the setting process. This is particularly important since we're making a pectin-free jam. Secondly, lemon juice provides a lovely tart counterpoint to the sweetness of the raspberries, balancing the flavors and preventing the jam from tasting flat. It truly brightens the overall profile of the jam, enhancing its fresh, fruity notes.
Step-by-Step: Crafting Your Bread Machine Raspberry Jam
Making delicious bread machine raspberry jam is incredibly straightforward. Here’s a detailed guide to get you started:
Preparation is Key
- Mash the Raspberries: Begin by placing your 3 cups of fresh or frozen raspberries into a bowl. Gently mash them using a fork or a potato masher until they are broken up and no longer whole. This helps to release their juices and makes for a smoother jam texture, while still leaving some delightful small chunks of fruit.
- Gather Your Ingredients: Have your sugar and lemon juice ready. For a pectin-free jam using simple ingredients, you can't beat this method. For more details on ingredient simplicity, check out this article: Pectin-Free Bread Machine Raspberry Jam: Simple Ingredients.
The Bread Machine Process
- Load the Pan: Carefully add all of your ingredients into the bread machine baking pan in the following order:
- First, the mashed raspberries.
- Next, the sugar.
- Finally, the lemon juice.
- Select the Jam Cycle: Securely place the pan back into your bread machine. Close the lid, select the "JAM" course (or "Jelly" setting, if that's what your machine calls it), and hit start. The machine will now take over, typically working its magic for just over an hour.
- Wait for the Magic: Let the bread machine do its work. It will heat, stir, and cook the mixture to perfection. Resist the urge to open the lid too frequently, as this can affect the cooking temperature.
Post-Cycle and Storage
- Remove the Pan: Once the jam cycle is complete, carefully remove the baking pan from the bread machine. Be cautious, as the jam will be extremely hot.
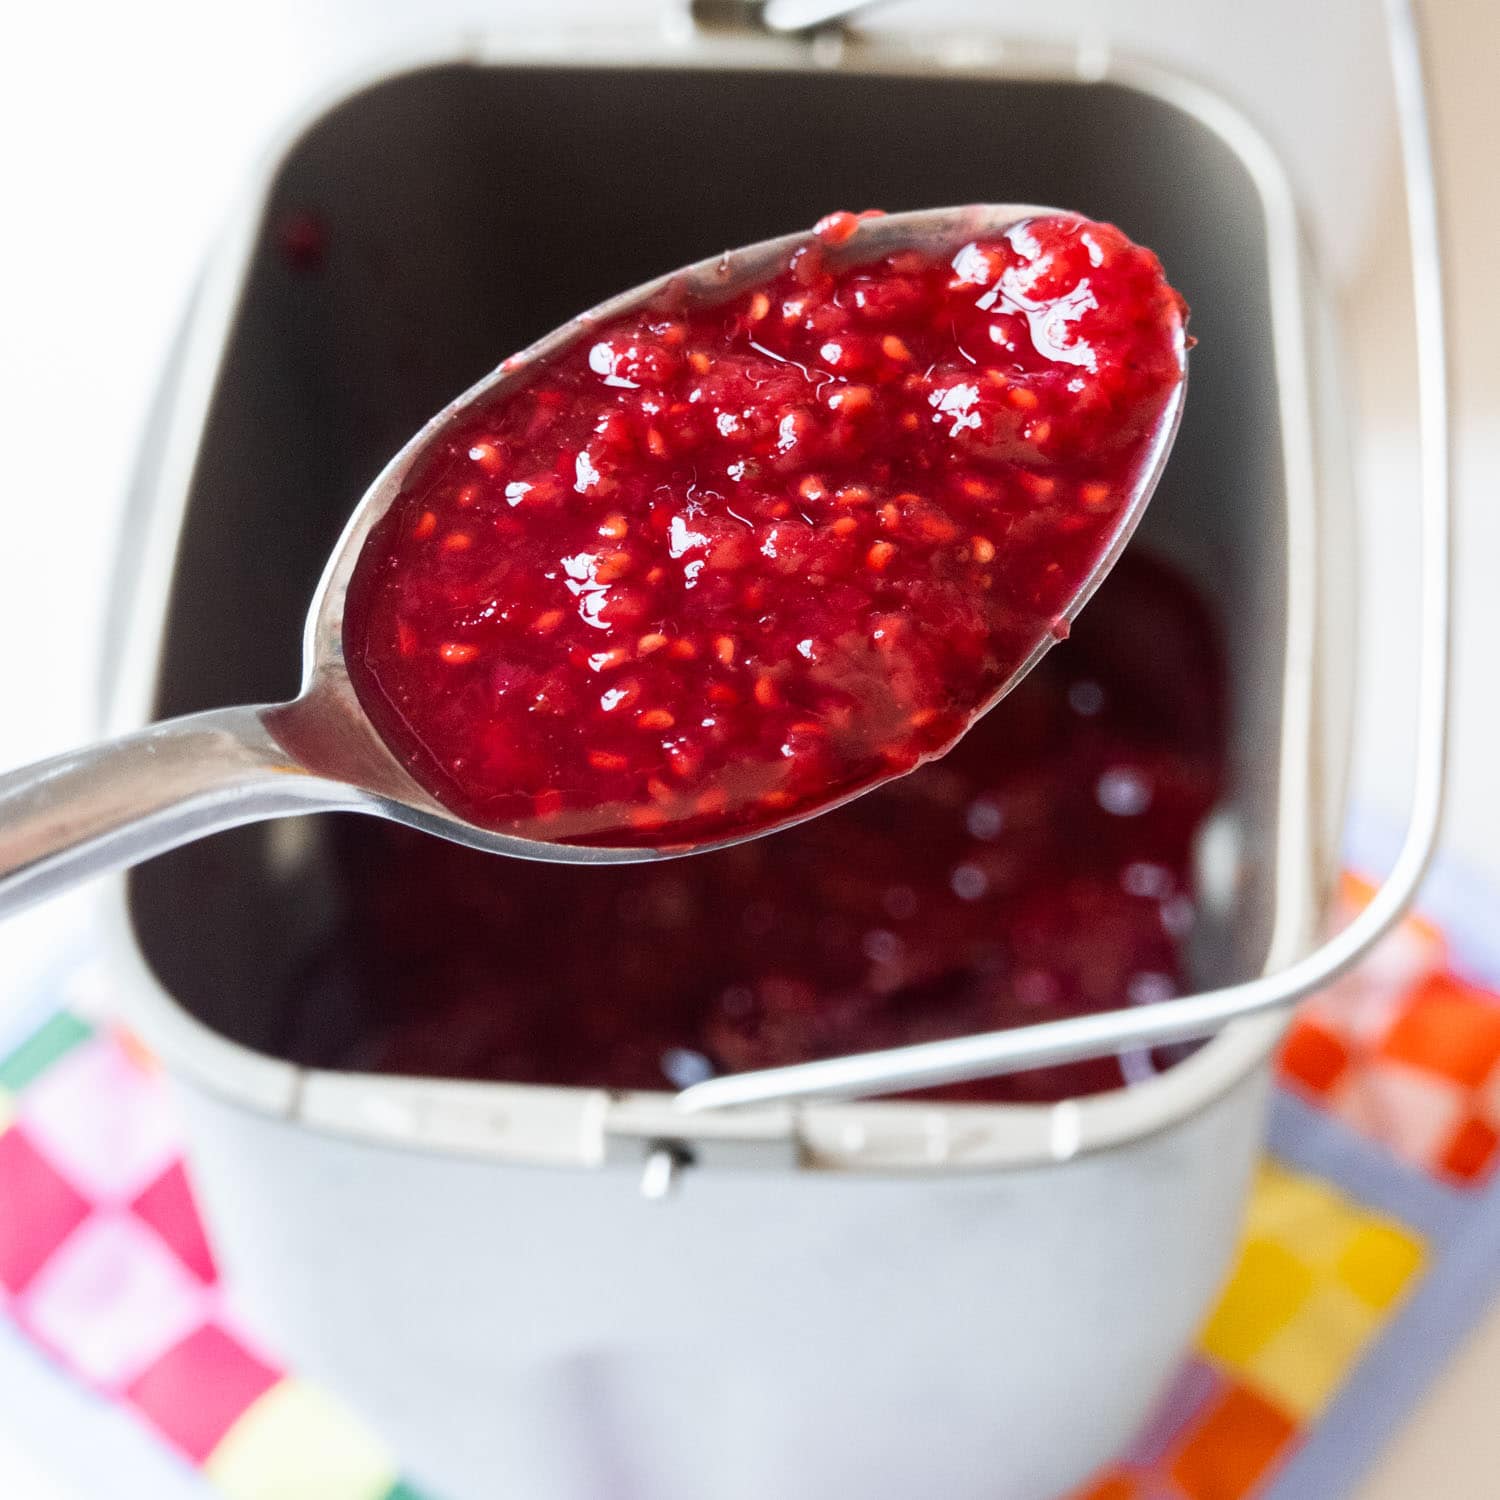
- Expect Runniness: At this stage, your raspberry jam will appear quite runny. This is perfectly normal! Jam thickens considerably as it cools. Don't be tempted to put it back in for another cycle or add thickeners; patience is key.
- Jar It Up: Pour the hot jam into clean, sterilized mason jars. This recipe typically yields about two 4-ounce jars or one half-pint jar, perfect for a manageable batch.
- Cool and Thicken: Allow the jam to cool at room temperature for a while before transferring the jars to the refrigerator. The jam will continue to thicken as it chills, usually reaching its ideal consistency after several hours or overnight.
- Storage Options:
- Refrigerator: Store your homemade bread machine raspberry jam in the refrigerator and enjoy it within a few weeks.
- Freezer: For longer storage, freeze the jam for up to a year. Make sure to leave about half an inch of headspace in your jars to allow for expansion during freezing. Thaw in the refrigerator as needed.
Tips for Bread Machine Jam Success & Beyond
To ensure your bread machine raspberry jam is always a triumph, consider these additional insights:
- Don't Overfill: Always adhere to the ingredient quantities specified in the recipe or your bread machine manual. Overfilling the pan can lead to boil-overs, creating a sticky mess and potentially damaging your appliance.
- Test for Set: While the bread machine does a great job, you can perform a simple "cold plate test" to check for set once the jam is chilled. Place a spoonful of jam on a cold plate (chilled in the freezer), let it cool for a minute, then push it with your finger. If it wrinkles, it's set!
- Cleaning Up: If any jam splatters onto your bread machine, wipe it clean immediately while still warm (but not scalding hot) to prevent it from hardening and becoming difficult to remove.
- Creative Uses: Beyond toast and butter, your homemade raspberry jam is fantastic in so many ways:
- Swirled into yogurt or oatmeal.
- Dolloped onto pancakes, waffles, or French toast.
- As a filling for thumbprint cookies or layer cakes.
- Paired with cheese and crackers on a charcuterie board.
- Used as a glaze for pork or chicken.
- Embrace the Season: Making jam is a wonderful way to preserve the bounty of summer. If you have an abundance of fresh raspberries during their peak, whipping up several small batches of this bread machine jam means you can enjoy that fresh taste year-round, even in the depths of winter.
The journey to homemade jam doesn't have to be intimidating or laborious. With your bread machine, a few simple ingredients, and a little patience, you can create luscious, pectin-free raspberry jam that’s bursting with fresh flavor. It's a testament to the versatility of this humble appliance and a delightful treat that will elevate your meals and snacks. So, dust off that bread machine, gather your berries, and get ready to spread some homemade joy!
